How to Use 3D Crown Nail Charms: Beginner-Friendly Guide
Learn what 3D crown nail charms are and how to apply them step-by-step for Valentine’s nail looks using a 24-piece rhinestone set.
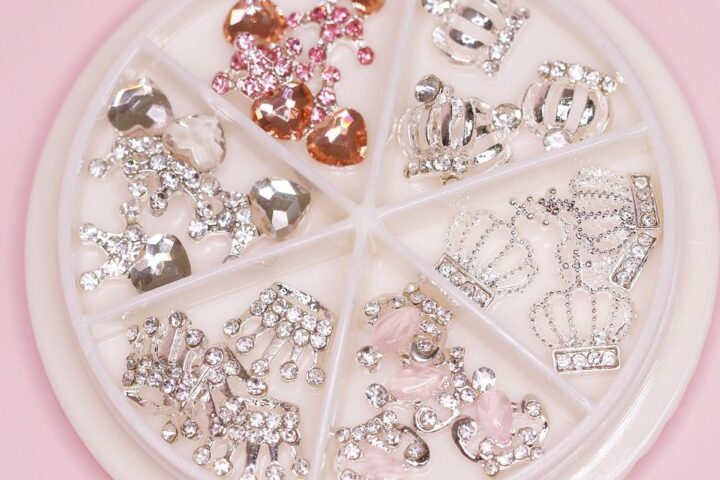
Tiny metal crowns with sparkle can turn a plain manicure into a statement look. If you’re new to nail charms, this guide walks you through the basic vocabulary, step-by-step application, and practical tips for using a 24-piece rhinestone-engraved crown set for Valentine’s nail designs.
What’s in the kit and why it matters
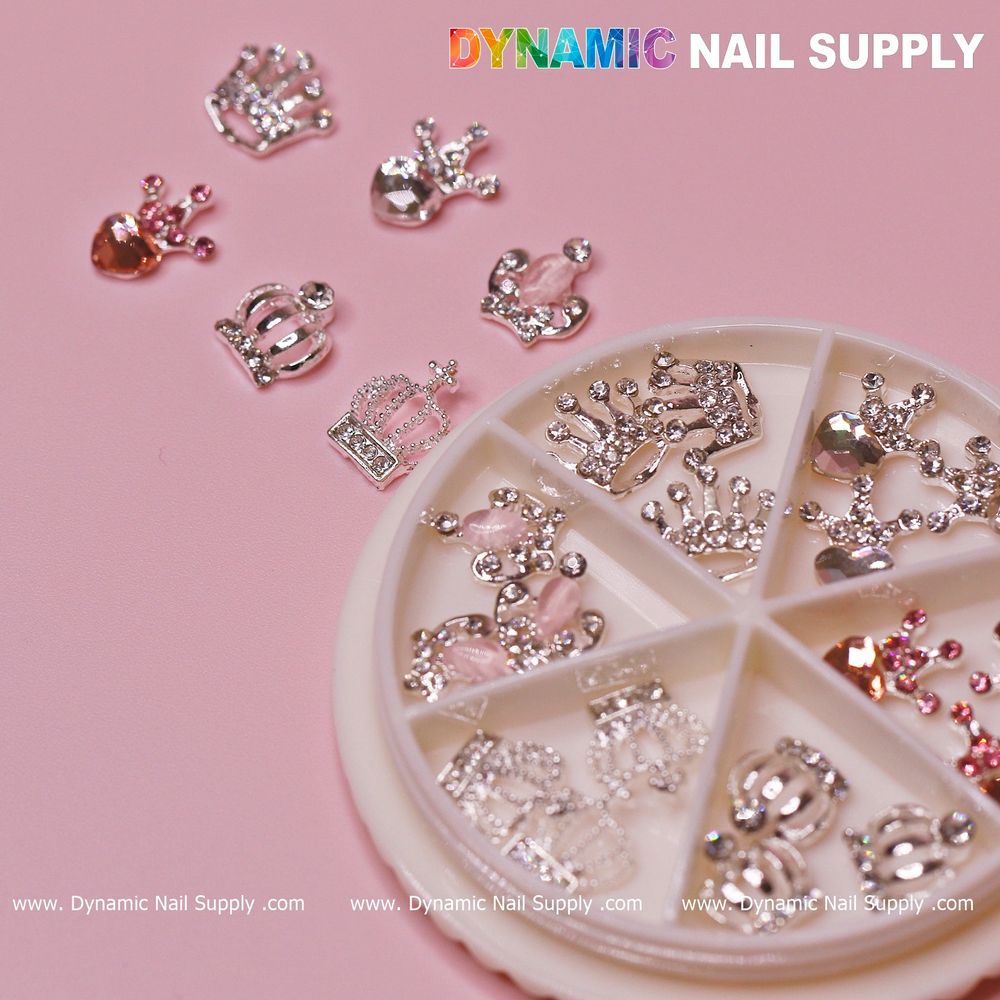
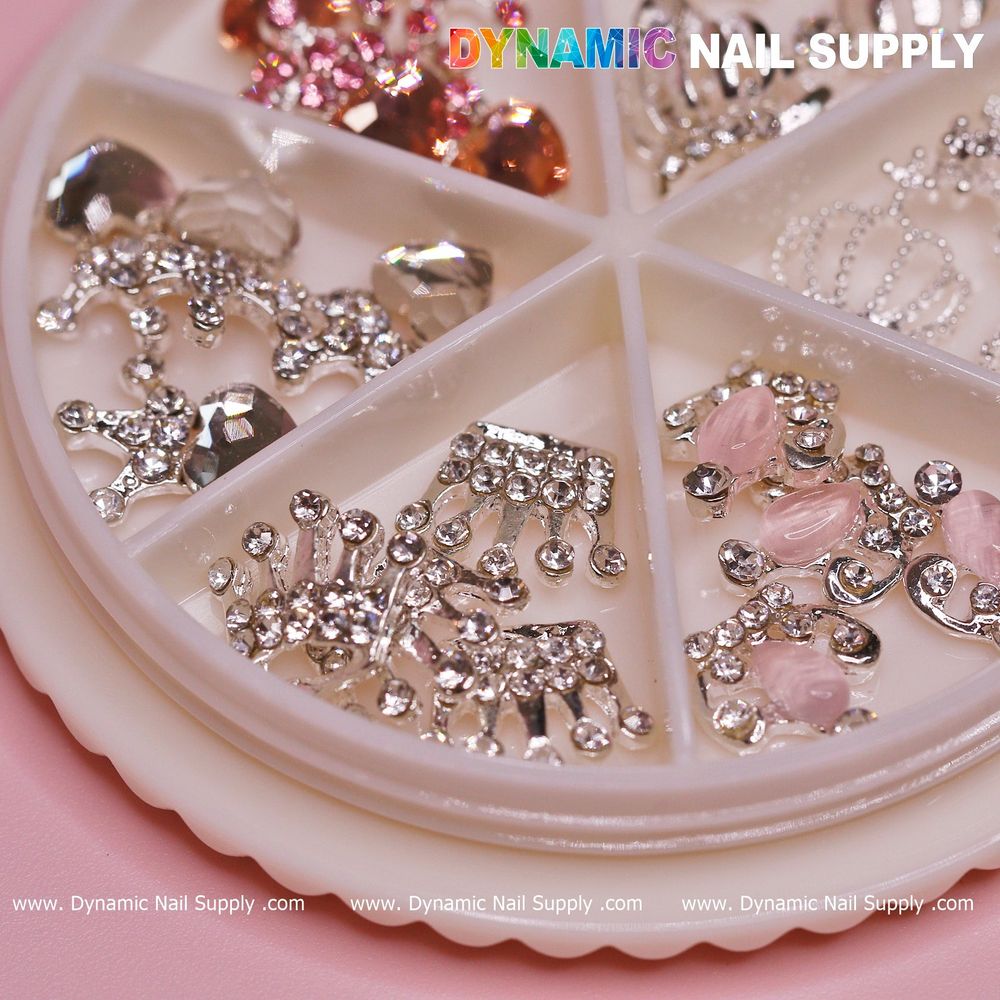
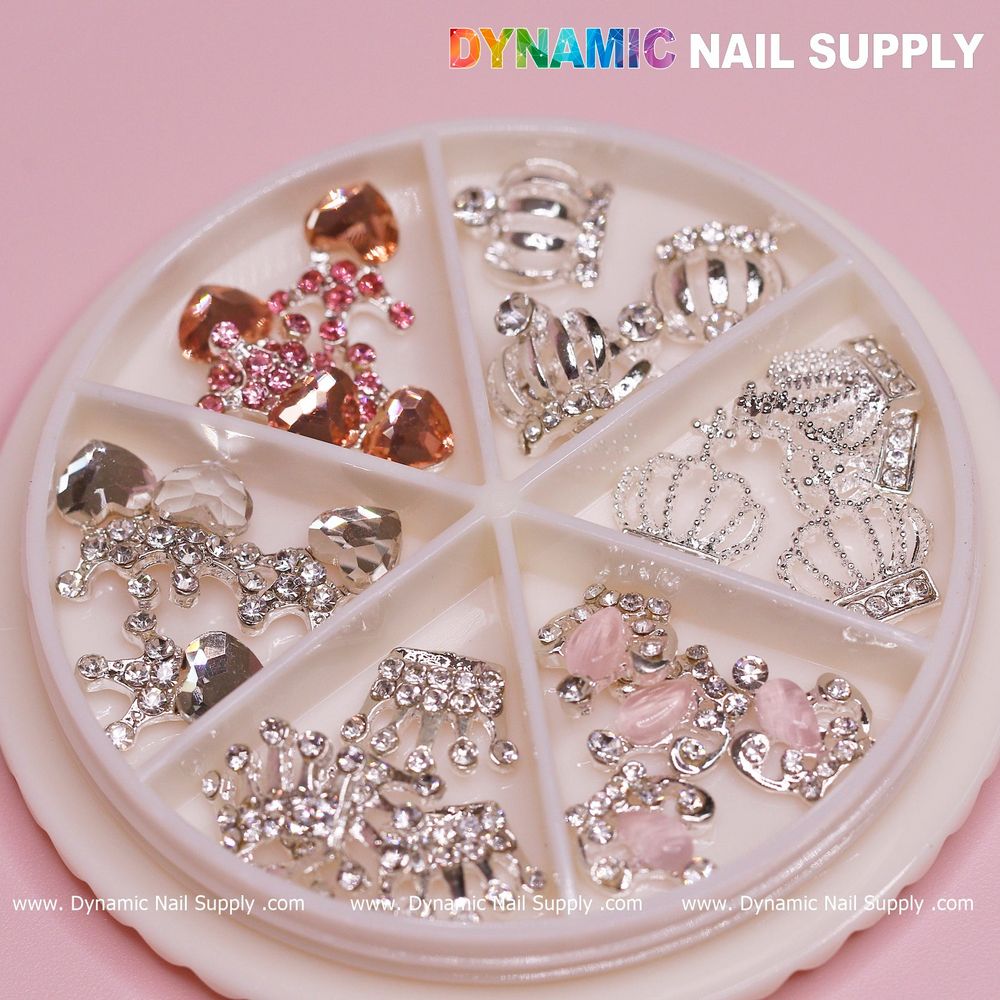
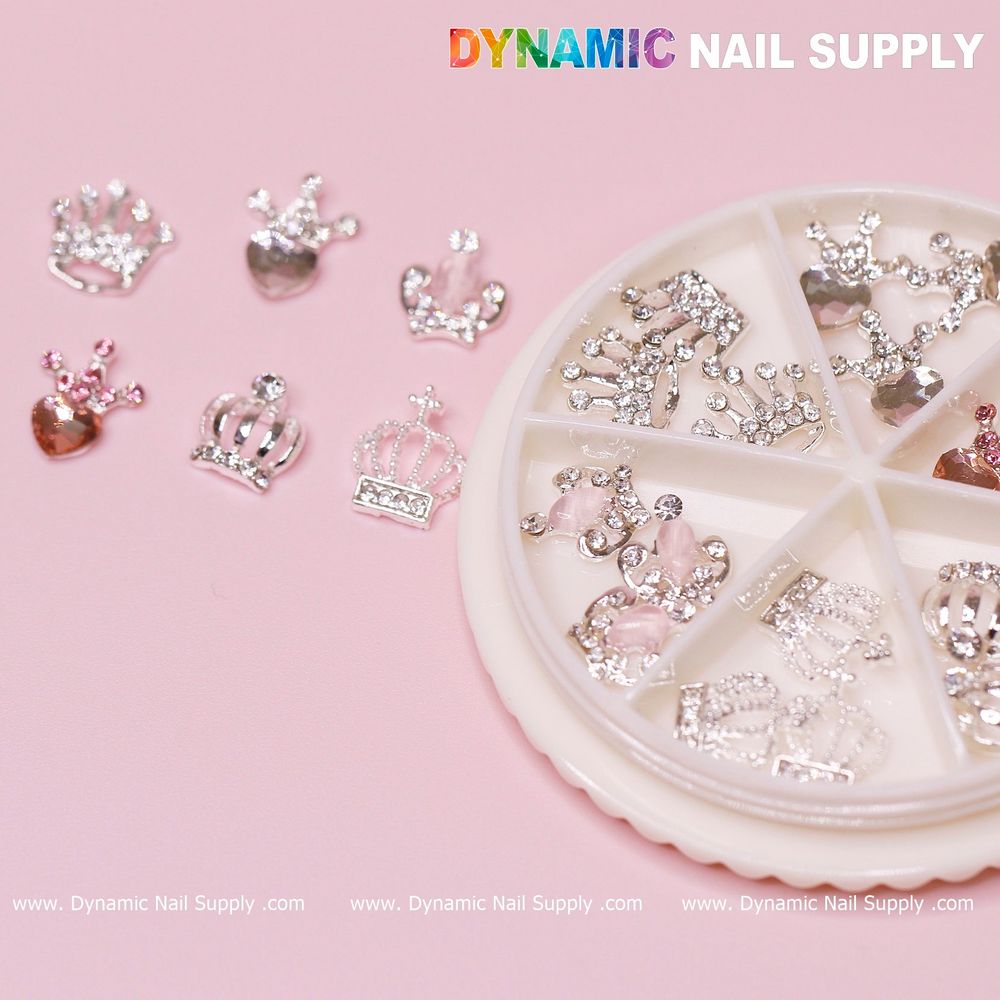
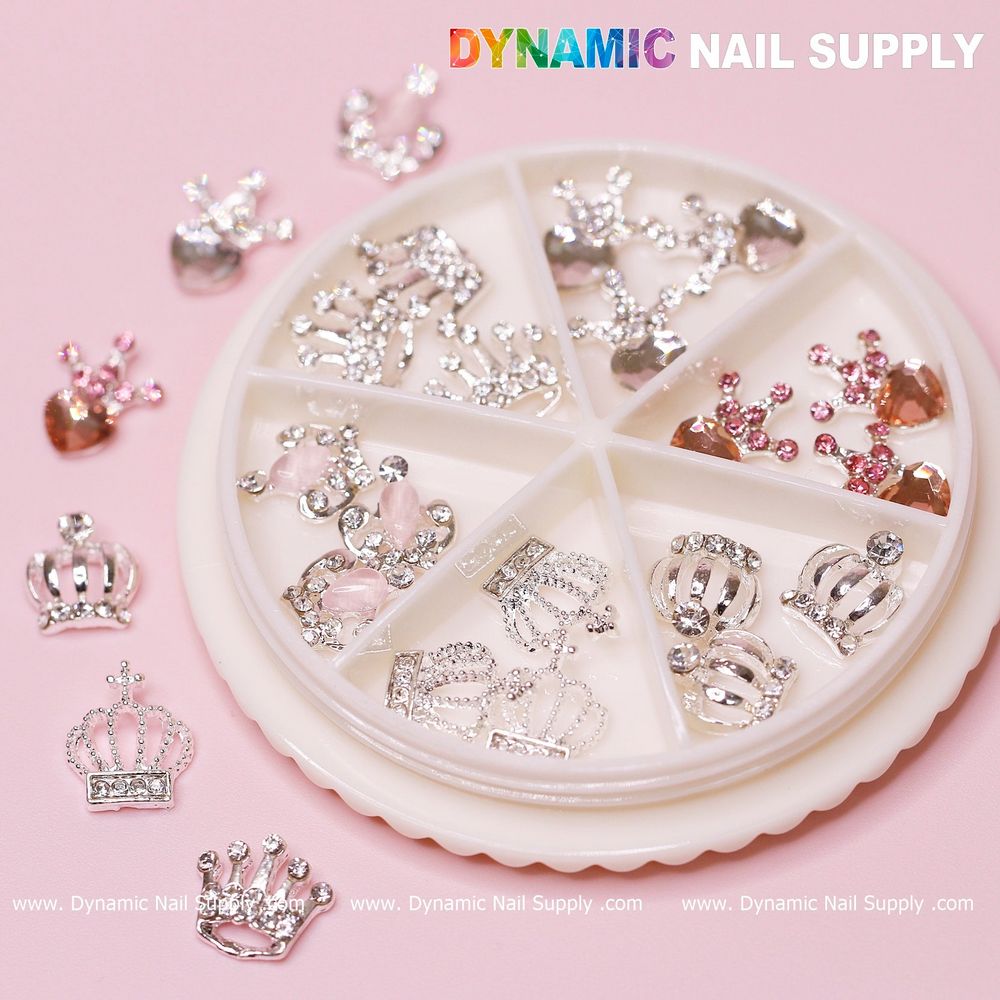
This product is sold as a 24-piece set of luxury 3D crown charms with rhinestone engraving, designed for nail decoration. The multiple pieces let you mix sizes and placements across both hands—perfect for accent nails, ring fingers, or a dramatic thumb design. This 24-piece set of crown nail charms is available as crown nail charms.
Key terms explained (quick and user-friendly)
- 3D charms: Small metal or acrylic embellishments with height—these sit above the nail surface for a sculpted look.
- Rhinestone-engraved: Decorative facets or inset stones that add sparkle and texture to each charm.
- Accent nail: A single nail that carries a bolder design while the other nails remain simpler.
Step-by-step: Preparing your nails
Good results start with a clean, stable base. Follow these steps before placing any crown charm.
- Clean and shape: File nails to your desired shape and gently push back cuticles. Remove oils with an alcohol wipe or nail cleanser.
- Apply base layers: Put on your base coat and the colored polish or gel you want. If using regular polish, allow full drying time; for gel polish, cure according to your lamp.
- Decide placement: Dry-fit a charm on each nail first to check balance and spacing before any glue or gel is introduced.
Step-by-step: Attaching the crown charms
There are two common, beginner-friendly methods for adhering charms: nail glue and gel. Choose the method that matches your polish system.
Using nail glue (traditional polish or quick fixes)
- Apply a small drop of nail glue to the back of the charm or on the nail where it will sit.
- Place the charm with tweezers or a wax pencil, press gently for a few seconds to set, then let the glue cure fully.
- Finish with a thin layer of topcoat around the charm edges to help secure and seal the base area—avoid flooding the top of highly raised charms if you want them to keep their 3D look.
Using builder or clear gel (gel systems)
- Apply a bead of builder gel where the charm will be placed.
- Position the charm and cure under your LED/UV lamp for the recommended time (follow your gel manufacturer’s instructions).
- After curing, add a thin layer of topcoat around the charm perimeter and cure again to lock edges.
Placement ideas and design tips
- Single statement: Put a crown on the ring finger or thumb for a regal accent.
- Paired symmetry: Mirror a small crown on both ring fingers for a coordinated look.
- Clustered glam: Use two or three crowns with tiny rhinestones or studs on one nail for a textured, valentine-ready embellishment.
- Balance height: Place tallest charms near the cuticle if you want them less likely to catch on fabrics.
Care, removal, and safety notes
Because 3D crown charms sit above the nail surface, treat them gently. Avoid rough, repetitive contact that can loosen the adhesion. When removing, do not forcefully pry; instead soften glue with an acetone soak or follow your salon’s standard gel removal method. If you experience irritation or lifting of your natural nail, stop use and consult a nail professional.
Who should use these charms?
These crown decorations suit hobbyists, salon beginners, and nail art lovers who want showy accents without full sculpting skills. If you’re creating Valentine’s-themed manicures, the rhinestone engraving adds instant sparkle without additional stones. The set is accessible for home users and fits salon add-on services as well.
Practical tips from pros (for longer wear)
- Trim or file sharp charm edges slightly if they snag on fabric—do this carefully to avoid damaging the finish.
- Use two small adhesive points (glue or gel) for larger crowns to reduce rocking and extend wear.
- Keep a small bottle of nail glue for on-the-go repairs in case a charm loosens after wear.
- If you’re new to placement, practice on an artificial nail tip to find ideal spacing before applying to your hands.
Dynamic Nail Supply lists this style as part of their seasonal options; this 24-piece set is priced at $9.85 (prices may change). If you have questions about ordering or availability, check the seller details or contact the store directly.
With a little prep and patience, 3D crown nail charms can elevate simple manicures into regal, eye-catching designs—great for Valentine’s looks or anytime you want a touch of sparkle.