How to Apply Easter Nail Art Stickers for Pro Results
Step-by-step guide to using Easter nail art stickers at home or in the salon for clean, long-lasting festive manicures.
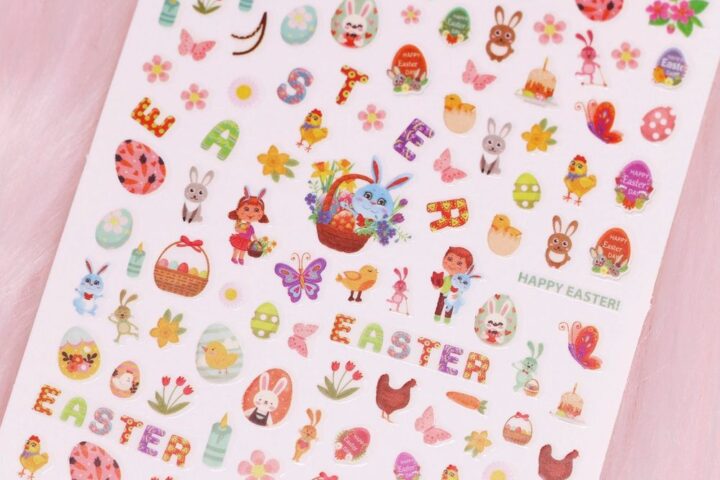
Seasonal nail art can transform a simple manicure into a polished, playful look. Easter nail art stickers offer instant motifs—bunnies, chicks, eggs and flowers—that save time while giving professional-style accents. This guide shows how to prep, apply and finish stickers so your clients or at-home mani look salon-grade.
Designs to expect and how to choose them
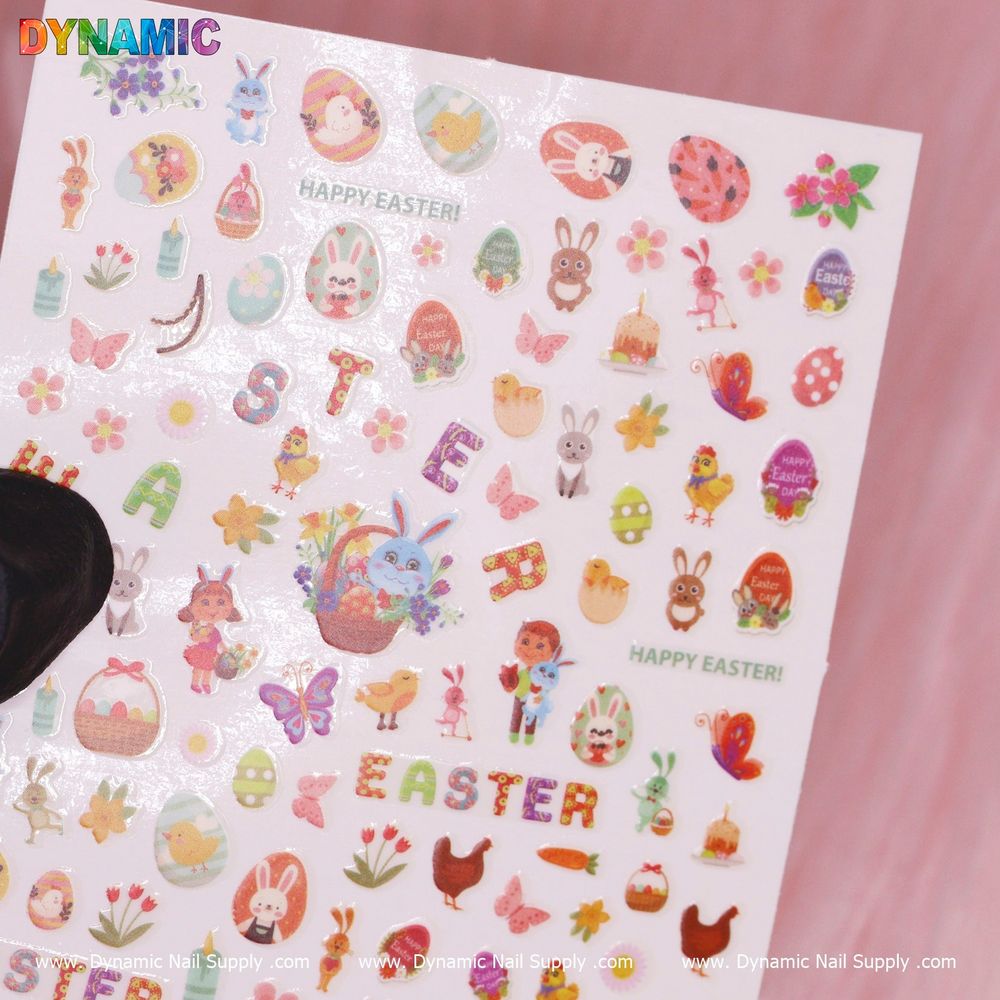
The Easter Sticker (T-378) includes classic holiday motifs such as bunny, chicken, egg, egg hunt and flower images suitable for accent nails or complete themed sets. When choosing a layout, think about scale and contrast: smaller stickers work well for French tips or tiny accents, while larger motifs can be the focal point on one or two nails.
Prep: the step professionals never skip
Good preparation is the foundation of a long-lasting sticker manicure. Start with clean, dry nails free of oils and lotions. Lightly buff the nail surface to remove shine and gently push back cuticles so stickers sit flat. If you use a base color, let it dry fully before moving on to placement.
For a quick accent on a single nail, try a single easter nail sticker: easter nail sticker which makes creating a polished focal point simple and repeatable.
Step-by-step application for salon-quality results
- Plan the layout. Hold sticker sheets up to each nail to preview placement and size. Decide which nails will be fully decorated and which will serve as complementary accents.
- Lift carefully. Use tweezers or a silicone tool to lift the sticker from the sheet to avoid stretching or folding the decal.
- Place with precision. Gently place the sticker on the nail, starting at the cuticle and smoothing toward the tip to reduce air bubbles.
- Smooth and secure. Use a silicone pusher or an orange stick wrapped in cotton to press out any edges and ensure adhesion across the nail.
Finishing techniques that extend wear
Finish with a high-quality top coat to seal edges and add shine. If you work in a salon that uses gel systems, you can encapsulate stickers under gel or builder top coats for extra durability; otherwise, a few thin layers of regular top coat will protect the design. Re-apply top coat every few days to maintain gloss and edge protection.
Creative placement and styling ideas
- Mix with negative space: Apply small eggs or flowers near the base of a clear or nude nail to create a modern, minimalist look.
- Accent ring fingers: Use a single rabbit or chick motif on the ring finger while keeping the other nails muted for an elegant contrast.
- Layering with polish: Place stickers over a soft pastel base to enhance the Easter palette—think pale pinks, baby blues, and mint greens.
- Combination effects: Pair stickers with simple hand-painted dots or stripes to make designs feel custom without much extra time.
Care, removal and safety notes
To prolong wear, avoid prolonged contact with hot water immediately after application and handle abrasive tasks with gloves. When it’s time to remove the stickers, gently lift an edge with an orange stick after softening with an oil-based remover or standard nail polish remover; avoid forceful peeling to protect the natural nail surface. If you have sensitive skin or allergies, test a small sticker on the side of the nail or consult a professional before full application.
Who these stickers are best for
These Easter-themed nail stickers are ideal for nail technicians looking to add seasonal designs quickly in a salon rotation, and for home users who want festive, low-effort manicures. They’re also a cost-effective option for event-ready looks—priced at $2.00, they make easy seasonal updates without a big investment. Available through professional distributors and independent sellers, they fit well into both retail racks and salon supply kits; Dynamic Nail Supply carries similar decoration options.
Quick troubleshooting
- Wrinkled sticker: Gently lift and reapply, smoothing from center outward. If too creased, remove and replace with a fresh decal.
- Edges lifting: Press down and seal with an extra layer of top coat; file the very tip edge lightly if needed for a smooth finish before sealing.
- Sticker too big: Trim excess with small curved scissors before placing to fit the nail shape.
With a little preparation and these application tips, Easter nail art stickers give a quick route to festive, professional-looking manicures. Use thoughtful placement, proper finishing, and regular care to keep designs looking fresh throughout the holiday weekend.