Neon Orange Water Decals: Beginner’s Step-by-Step Guide
A beginner-friendly explainer on neon orange water decals: what they are, how to apply them step-by-step, and tips to get long-lasting nail art.
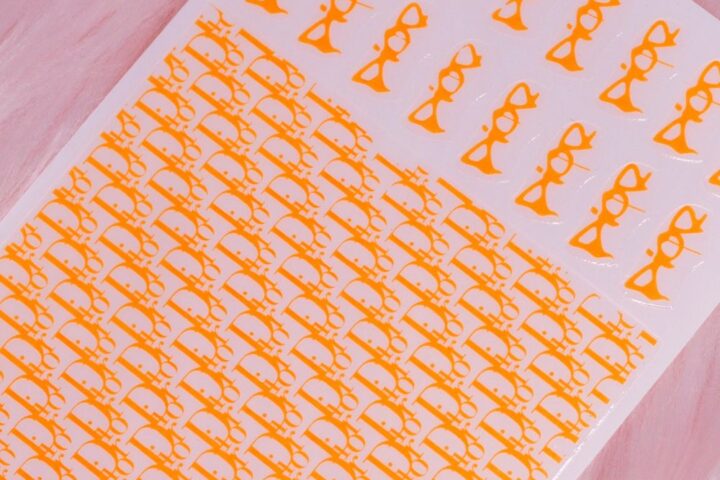
Bright, punchy nail accents are an easy way to refresh a manicure without a full redo. Neon orange water decals deliver vivid color and fine detail with very little practice. This guide breaks down the terms, shows the simple steps to apply them, and offers practical tips so beginners get tidy, lasting results.
What is a water decal and how it differs from stickers
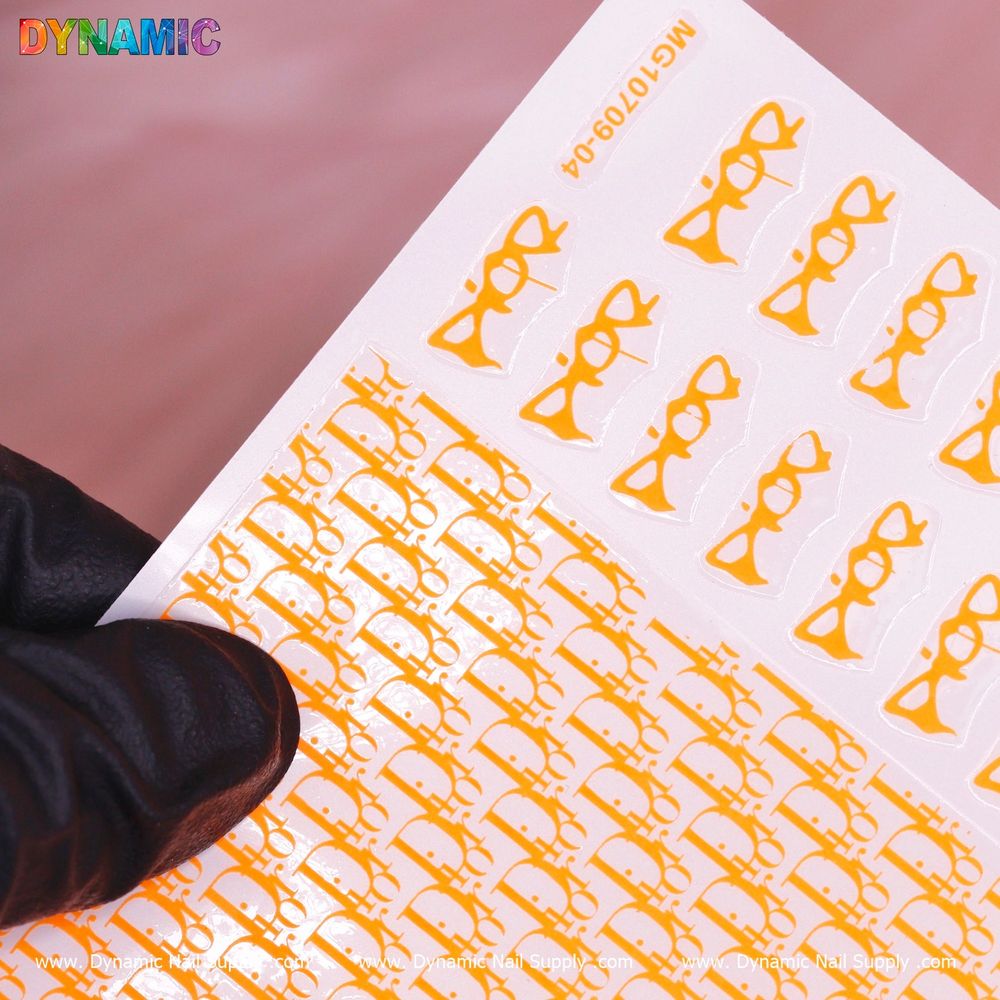
A water decal is a thin film design printed on a backing paper that releases when briefly soaked in water. Unlike pressure-stick nail stickers, water decals are floated off their backing and then slid into position on the nail surface. That floating step lets you nudge the design into place for precise alignment and smoother edges.
Key terms every beginner should know
- Decal film — the thin image-bearing layer you transfer to the nail.
- Backing paper — the paper that holds the decal before soaking.
- Base coat — clear polish or gel applied first to protect the natural nail and improve adhesion.
- Topcoat — clear finish that seals the decal and adds shine or protection.
- Soak-and-slide — the technique of immersing the decal to loosen it from its backing so you can slide it onto the nail.
Materials you’ll need
- Neon orange water decal sheet (single sheet items like nail water decal are inexpensive and beginner-friendly).
- Scissors to trim the decal close to the design.
- Small bowl of room-temperature water for soaking.
- Tweezers or a dry brush for handling the film.
- Base coat and clear topcoat (regular polish or clear gel topcoat).
- Cuticle pusher or orange stick and small paper towel to blot excess water.
Step-by-step application process
-
Prep the nail:
Push back cuticles, shape and lightly buff the nail surface. Wipe nails with a lint-free pad to remove dust and oils. Apply a thin base coat and let it dry completely.
-
Trim and test-fit:
Cut a decal section slightly larger than the nail. Hold it over the nail to check placement and orientation before soaking.
-
Soak the decal:
Immerse the trimmed decal in water for about 10–20 seconds, or until the image slides easily on the backing. Times vary slightly with paper type; look for the film to loosen from the paper.
-
Slide and position:
Use tweezers to lift the decal and slide it off the backing onto the nail. Float and nudge the film into final position. If you need to reposition, you can lift and re-float gently.
-
Squeegee and dry:
Press the decal flat with a cuticle pusher or soft brush, smoothing out bubbles and excess water. Blot around the edges with a paper towel and allow a few minutes to set.
-
Trim and finish:
If any decal overlaps the free edge of the nail, file or trim the excess carefully. Seal everything with one or two layers of clear topcoat for durability and shine.
Practical tips for neater results
- Work one nail at a time so the decal stays workable while moist.
- If bubbles appear, gently lift the film edge and re-smooth; tiny bubbles can be flattened under topcoat, but large ones should be adjusted before sealing.
- For complex designs, trim close to the motif so only the printed image sits on the nail—this reduces bulk and lifting.
- Use a gel topcoat if you want extra longevity, but a quality regular topcoat also works well for everyday wear.
- Store unused sheets flat and away from direct sunlight to preserve color intensity.
Who this product suits
Neon orange water decals are ideal for creative beginners learning placement and finishing techniques because they require no freehand painting yet deliver high-impact color. They also appeal to technicians and hobbyists who want quick accent nails or seasonal pops of neon without committing to a full neon polish. The sheet is sold at an accessible price point of $2.00, making it easy to experiment without expense.
Care and safety notes
- Avoid getting decal backing paper into eyes and keep small pieces away from children.
- If you have sensitive skin, test one nail first to check for any reaction to adhesives or topcoats.
- Do not ingest water used for decal soaking; dispose of it after use.
Key features in context
This neon orange design provides a vivid accent that works over neutral or contrasting base colors. As a water-activated transfer, it offers more placement control than pressure-stick stickers and lays very flat under a clear seal. The item is listed as a sticker-type water decal and is available through suppliers such as Dynamic Nail Supply.
Final thoughts
Neon orange water decals give striking, salon-style detail with a modest learning curve. Follow the soak-and-slide steps, work deliberately, and seal well—those simple habits will make your decals look crisp and last longer. With a low entry price and minimal tools required, this is a friendly starting point for anyone keen to explore decorative nail art.