How to Use Rhombus Pearl Nail Charms for Pro Results
Get salon-quality accents using rhombus pearl nail charms. Learn prep, placement and finish tips to wear these engraved charms at home or in the studio.
Small metallic accents can elevate a manicure from ordinary to editorial. Rhombus pearl nail charms give you an instant focal point: geometric shape meets delicate pearled engraving. This how-to guide walks through preparation, precise placement, and finishing techniques so you can get professional results at home or in the salon.
What these charms are — and what’s in the pack
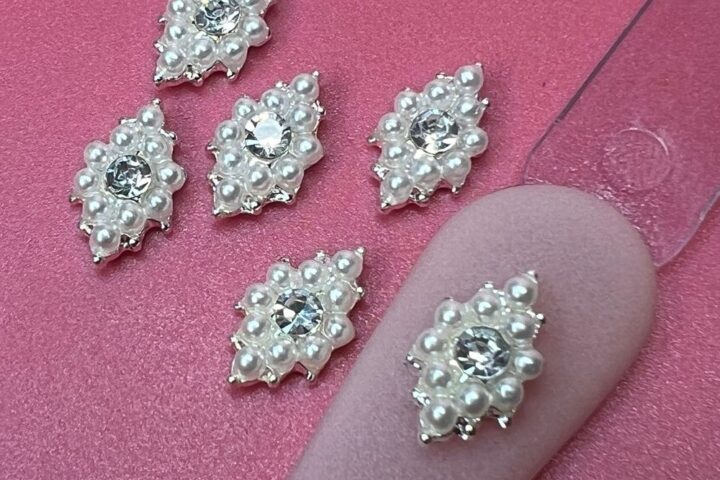
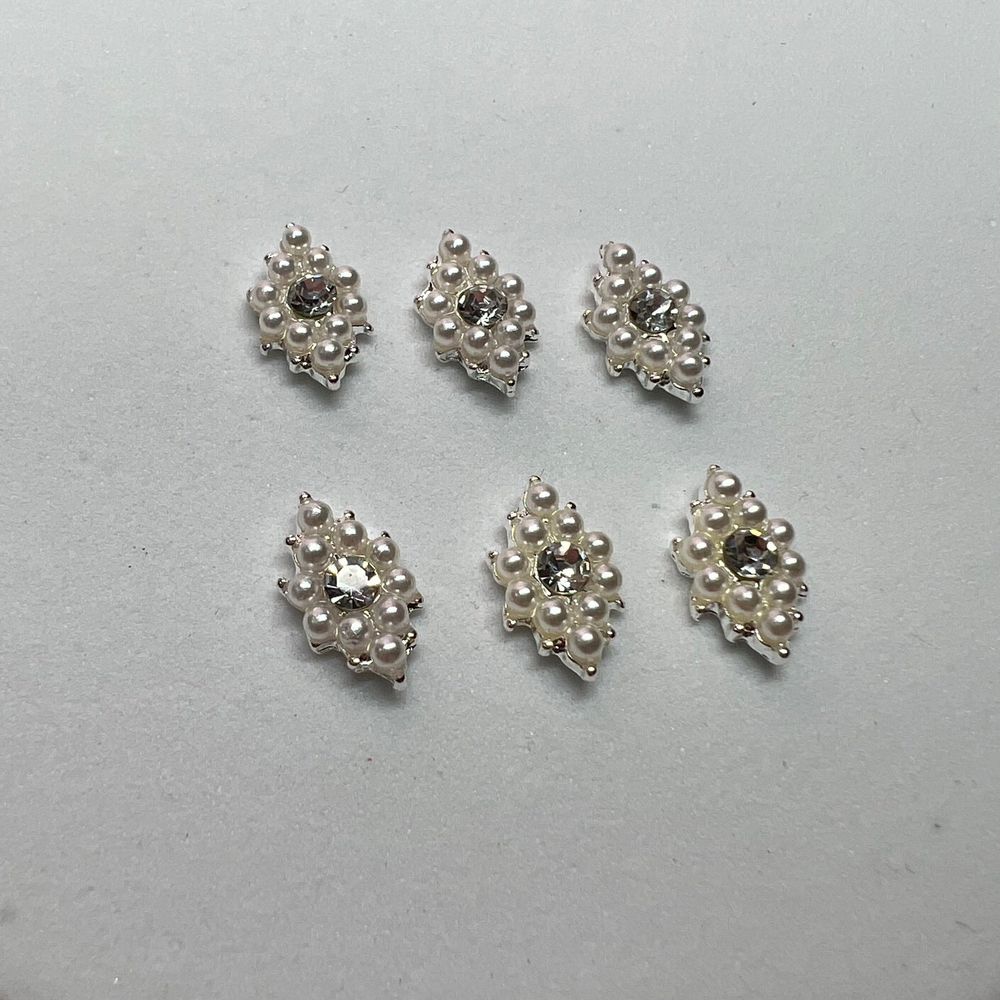
Each pack contains six rhombus-shaped nail charms with pearl-engraved detailing. They’re designed for nail art applications on natural nails, tips, and enhancements. Sold by Dynamic Nail Supply, a single bag is an easy way to add textured metallic accents to multiple manicures; the current listed price is $6.00 but may change.
Essential tools and prep
Good results start with clean, stable nail surfaces. Gather these basics before you begin:
- Tweezers or a wax picker for precision placement
- Nail glue, builder gel or a strong topcoat depending on your preferred method
- Fine nail file and buffer to smooth the nail plate or enhancement
- Lint-free wipes and alcohol or nail cleanser to remove oils
Work on nails that are fully dry and oil-free. If you’re applying over polish, gently roughen the surface where the charm will sit to improve adhesion.
Step-by-step application for salon-quality results
Follow these steps whether you’re working on yourself or clients. Keep a steady hand and take your time for even placement.
- Prep the nail: Shape, buff lightly and cleanse. Apply your base color and cure if using gel.
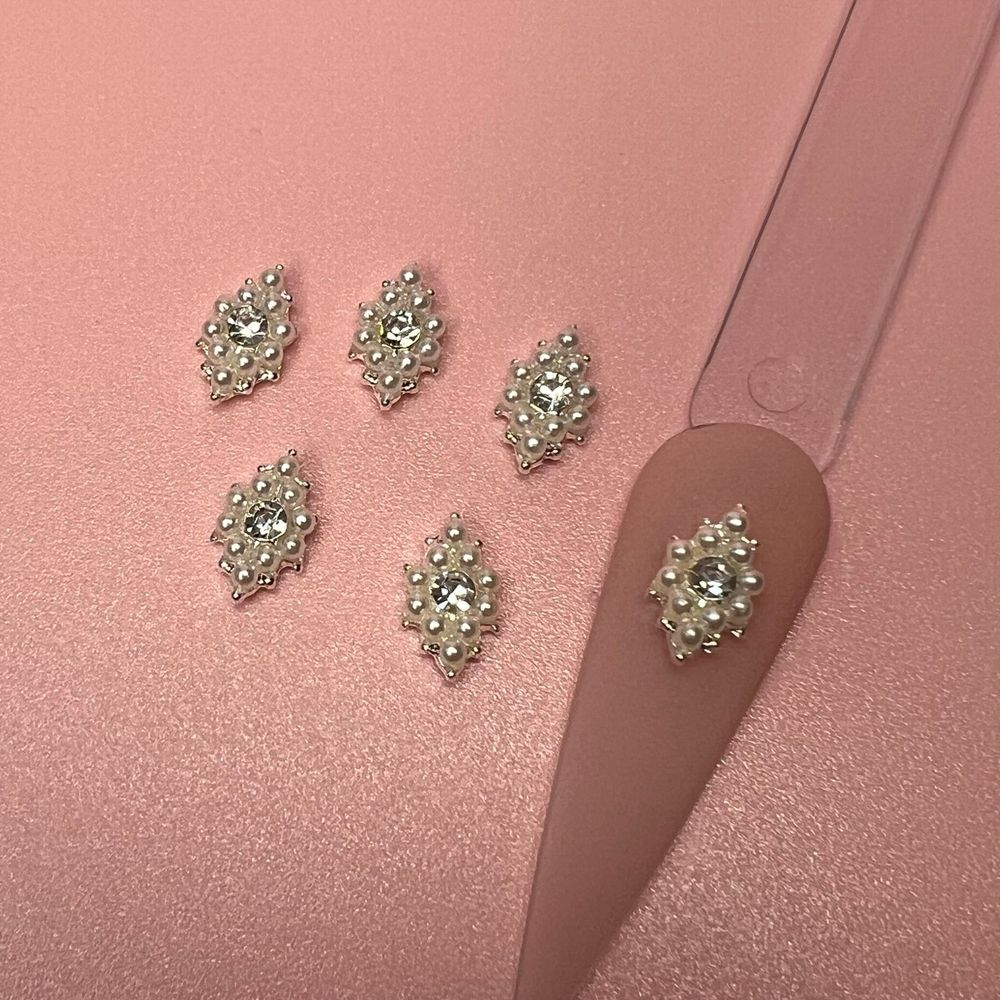
- Plan placement: Lay the charm on the nail surface without adhesion to check position and balance with other design elements.
- Adhere the charm: For temporary looks, press into a wet topcoat and cure. For longer wear, use a small dab of nail glue or encapsulate the charm with builder gel and cure according to product instructions.
- Secure the edges: Gently press the charm so all edges meet the nail surface. Add a thin layer of topcoat around (not necessarily over) the charm to lock it in.
- Finish: Apply a final topcoat over the whole nail if you want a smoother surface; otherwise, leave the charm raised for texture contrast.
Design ideas and placement tips
These rhombus charms pair well with minimalist and maximalist looks alike. A few ideas to try:
- Single accent nail: place one charm at the cuticle or offset toward the free edge for a refined focal point.
- Double-row accents: use one charm per finger alternating sides for a symmetrical set.
- Mixed-media: layer the rhombus charm with small studs, microbeads, or a pearly shimmer polish to echo the engraved detail.
When planning, consider nail length and shape—short nails benefit from smaller, centered placements while longer tips can carry multiple elements.
Practical tips for durability and salon efficiency
To keep your charm-adorned manicure looking fresh longer, try these shortcuts pros use:
- Use a tiny dot of adhesive rather than flooding the area, which keeps cleanup easier.
- If working in the salon, pre-sort charms onto a sticky palette so you can pick them up quickly between clients.
- When encapsulating with builder gel, ensure no air pockets form under the charm — a thin layer first helps seat the piece.
If you’d like a spare supply for quick touch-ups or client lookbooks, order a set of rhombus pearl nail charms pack rhombus pearl nail charms pack and keep extras on hand.
Who this set is ideal for
These charms are suitable for a wide range of users: nail technicians building a signature accent, home mani enthusiasts exploring textured details, or content creators photographing close-up looks. The six-piece quantity is convenient for experimenting with placement and combining with other charms.
Care and safety notes
Treat these as small decorative items: keep away from children and pets and avoid ingesting. Because they create raised details, expect some snagging on fabrics or gloves; place the charm where it’s least likely to catch, or seal with a topcoat if snagging is a concern. Always follow the instructions for any adhesive or gel you use, and perform a patch test when trying a new product on the skin.
Conclusion: small detail, big impact
Rhombus pearl nail charms are an easy, cost-effective way to add sculptural interest and pearled texture to manicures. With simple prep, careful placement, and the right adhesive technique, you can achieve polished, professional results whether you’re working from a salon station or your kitchen table.